


Installation of IIS
To install IIS and ASP.NET modules on Windows Server using the UI
- On the Start page, click the Server Manager tile, and then click OK.
- In Server Manager, select Dashboard, and click Add roles and features.

In the Add Roles and Features Wizard, on the Before you begin page, click Next.

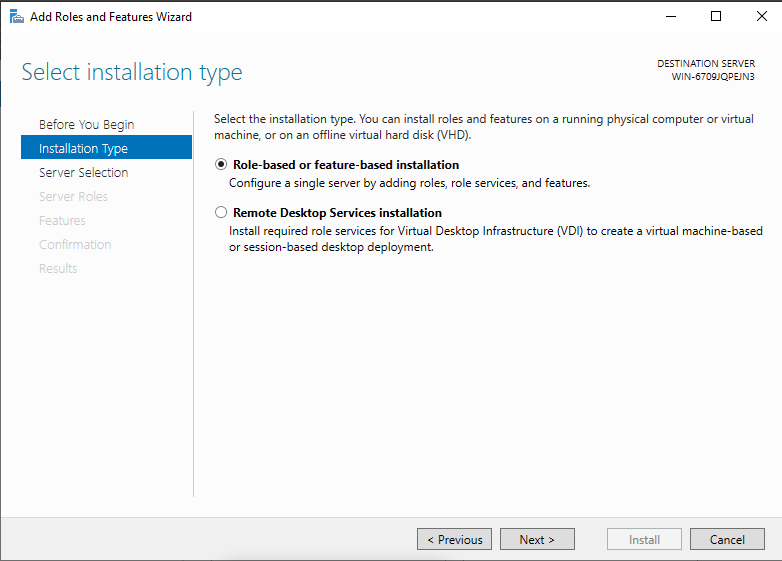
On the Select installation type page, select Role-based or feature-based installation, and click Next.
On the Select destination server page, select Select a server from the server pool, select your server, and click Next.

On the Select server roles page, select Web Server (IIS), click on Add Required Features for Web Server and click Next.

On the Select features page, click Next.

On the Web Server Role (IIS) page, click Next.

On the Select role services page, note the preselected role services that are installed by default, expand the Application Development node, and then select ASP.NET 4.5. (If you installed .NET 3.5, select ASP.NET 3.5 also.)

On the Summary of Features to Install page, confirm your selections, and then click Install.

On the Installation progress page, confirm that your installation of the Web Server (IIS) role and required role services completed successfully, and then click Close.

- To verify that IIS installed successfully, type the following into a web browser:
http://localhost
The default IIS Welcome page is displayed.
