SQL Server Fail-over Setup Part-3
Installation of Fail-over Clustering
To installation of clustering services, open the server manager, go to manage to add roles and features
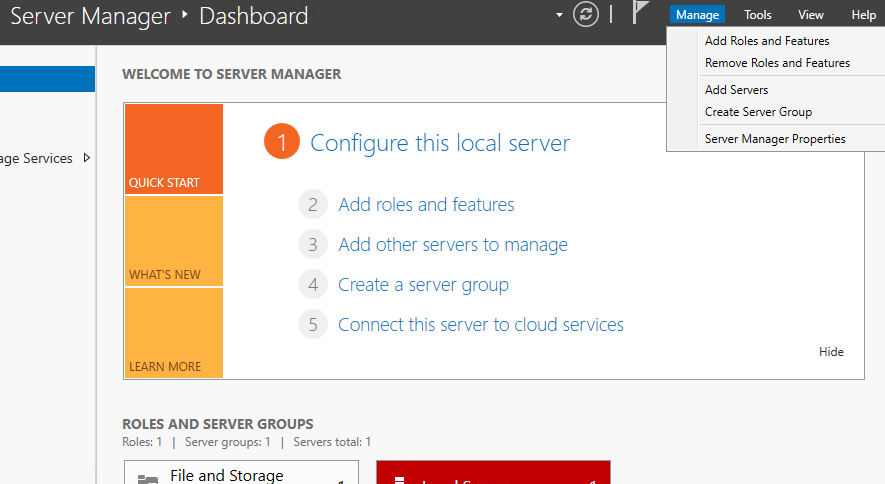
Click on Add Roles and Features, A screen will open click on next button four times, select Failover Clustering, click on Add features, and then click on next button.

Click on install button, and wait for some time, it will get installed.

Repeat this step on other server/node which you want to add for failover clustering.
Validation and Configuration of Cluster
Validation of Configuration
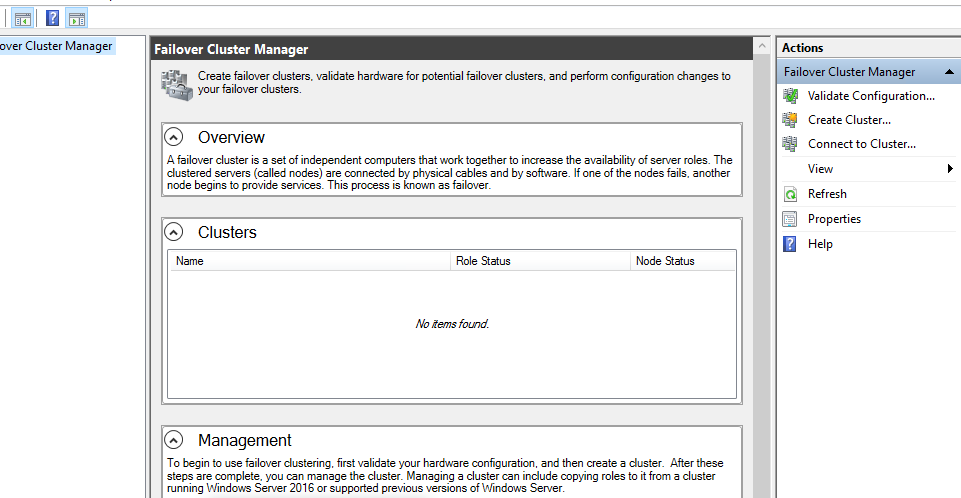
After installing the Fail-over Clustering on Node 2 go to Server Manager, click on tools and select Fail-over Cluster Manager. Fail-over Cluster Manager Dashboard will open as shown below
In right side of manager dashboard click Validate Configuration, a window will open just read these steps and click on next button, in next screen enter the name of Server/Node ( both Node), click on Browse and select the both Node and then click on next button two times,
In next screen leave everything by default and click on next
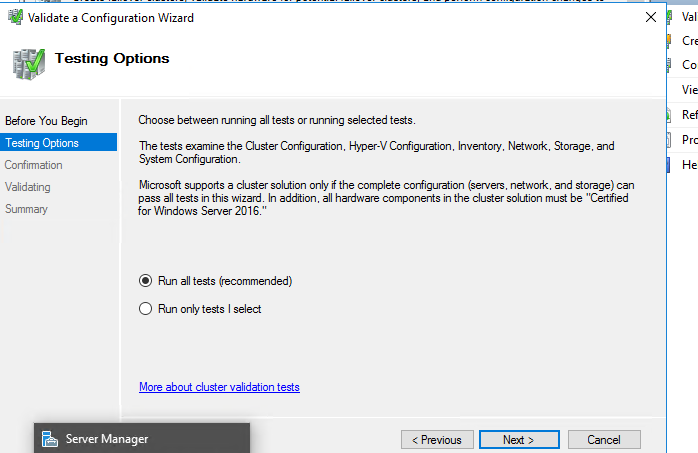
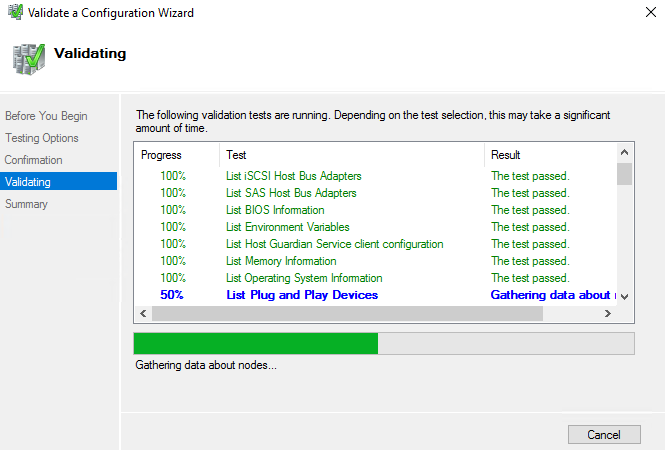
In this step it will validate all the settings and configuration of fail-over clustering
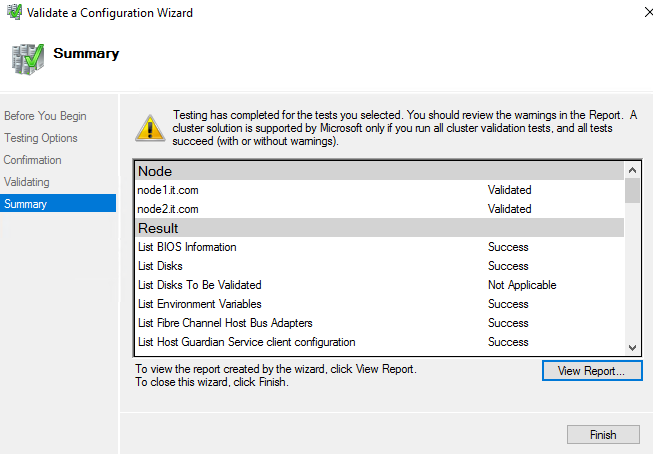
Once the validation successfully run click on finish button. You can also click on view report to check the report of configuration and information related to this.
Once we click on finish button it will open a new window for next step, Give the name of Cluster (a simple name) and enter the IP address for Cluster (IP should be from same network) and click on next button.
Creating Cluster
Now Open the Cluster manager dashboard and Click on Create Cluster, a screen will open click on next button.
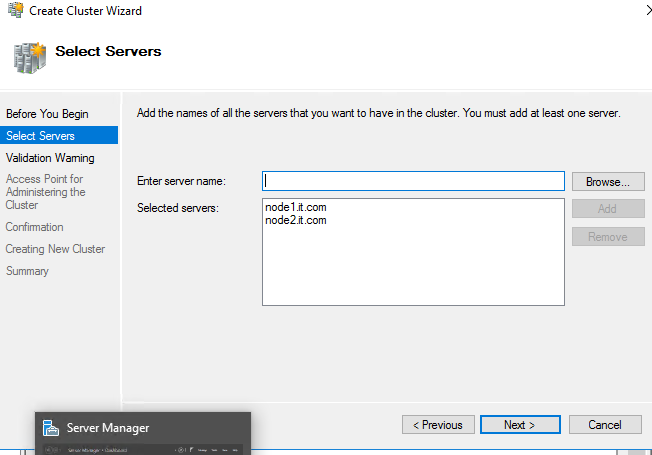
In next screen click on Browse button and both the nodes (Node1 and Node2) as shown in below image and click on next button.

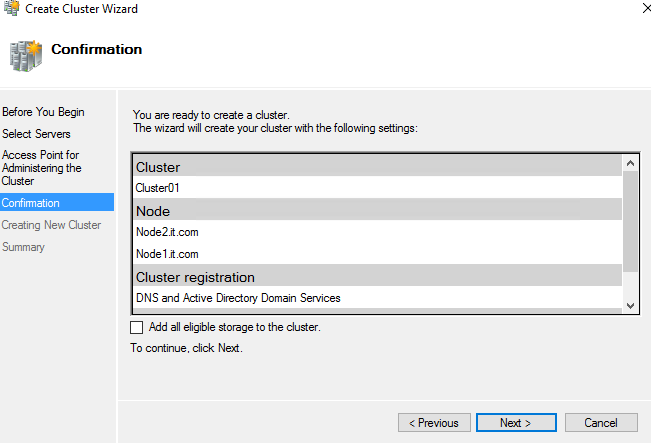
Here Type the name of cluster and give IP address for cluster as shown in below image and click on next button.

In next screen uncheck Add all eligible storage to the cluster (we will add manually), click on next button
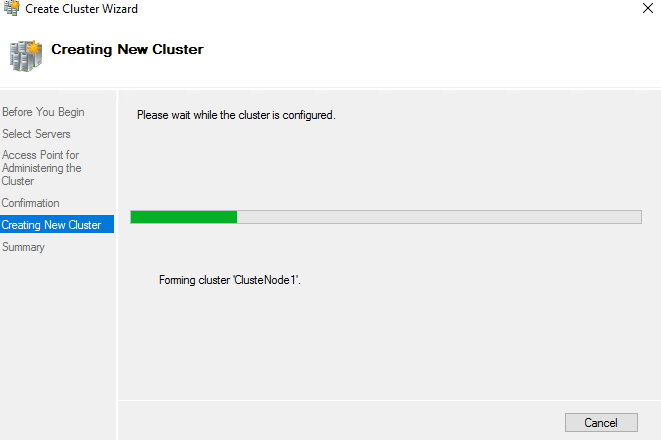
In next step cluster creation process starts as shown below:
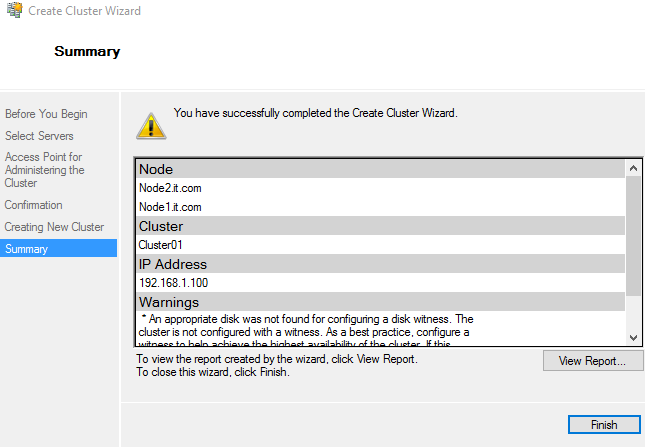
Once the process completes message will appear you have successfully completed the Create Cluster Wizard. Click on finish button to close this.
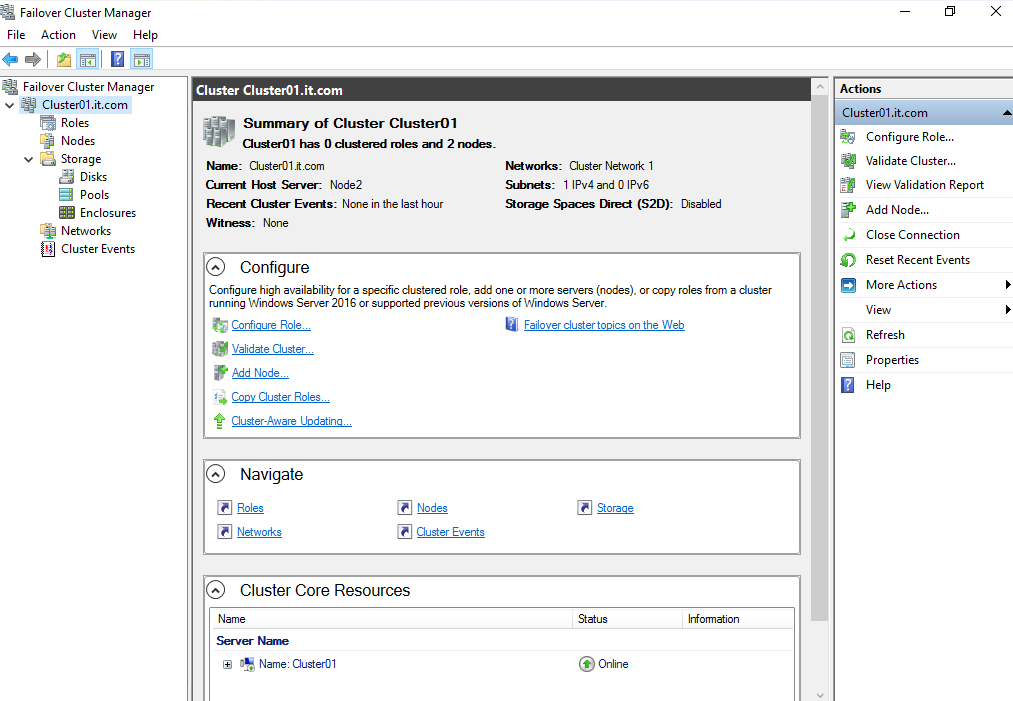
Now Cluster Manager Dashboard will show like below image.
Now expand the cluster (cluster01.it.com),then expand Storage, Right click on Disks then click add disks select all disk and click on ok button, All disk will added in cluster like shown below image.

Adding Witness Disk
Open the Failover Cluster manager, expand the cluster, and right click on Cluster (cluster01.it.com)
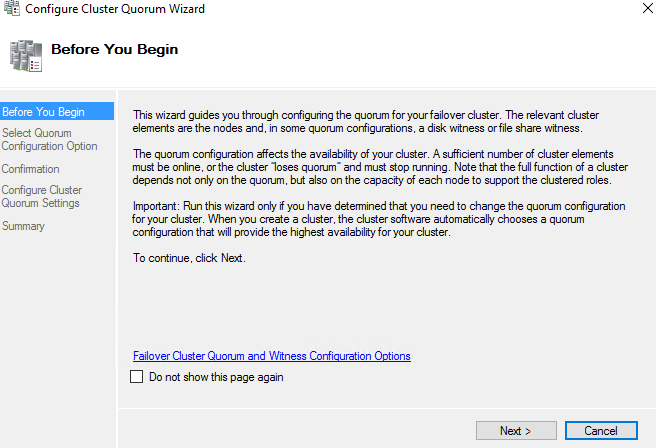
Go to More Actions and select Configure Cluster Quorum Settings

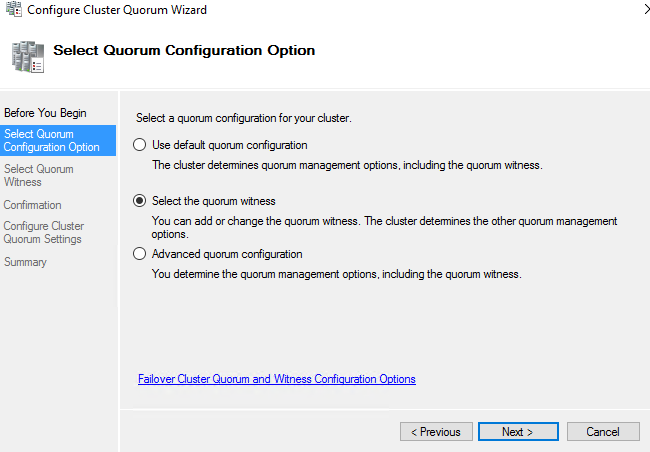
A High availability wizard will open for cluster Quorum click on next button
In this screen select the second option (select the quorum witness) and click on next button.
Select Configure a disk witness and click on next button

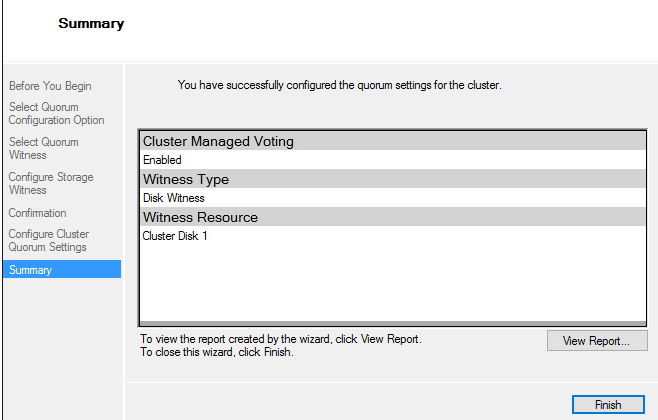
Select the Cluster Disk 1 and click on next button two times.

A screen will appear like below while configuring the quorum disk, once completes click on finish.